

The Beginner's Guide To Becoming An Ableton Beat Maker
If you're interested in making beats in Ableton Live we're going to cover all the individual steps you need to go through. Your path to being an Ableton beat maker will have a lot of ups and downs.
Look at it like learning an instrument you can play forever. It's worth it.
It is ok if you feel stuck with any part of the process whether that's finding good drum sounds, building them into a proper drum rack, mixing, writing melodies, or just getting your first beat done.
You'll know by the end of this article what you need to work on and have a some ideas for what to do next in your journey.

What Do You Need to Make Beats?
We used to say a laptop and a DAW, but that's not even true anymore! You just need something that you can load sounds into and sequence. For a lot of people, this might just be a phone with an app like Koala or Ableton Note. These are popular with many younger artists.
Also remember, hip hop is in many ways a minimal style of music production that has it's roots in pretty sparse equipment. You should know this even if you work in a different genre because the roots of beat making and sampling go back to hip hop.
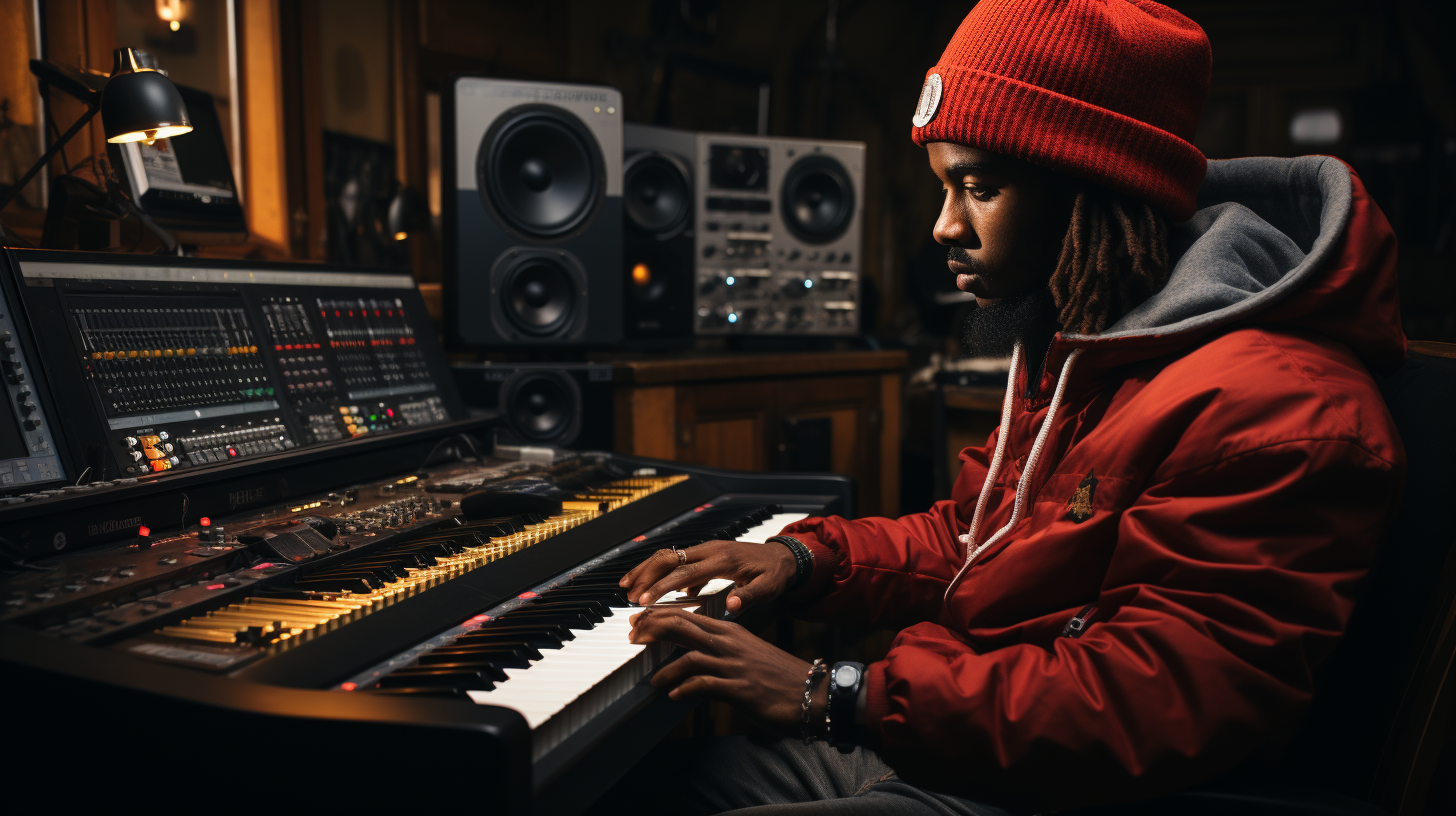
But since this is an article about Ableton Live, we're going to be focused on a DAW based workflow on a computer. A MIDI controller is also a big help, but not required.
But most importantly if you're not going to be playing instruments and recording parts with live mics, you need sounds! For most people they sample from records or use sample packs.
You can learn more about the pros and cons to each approach in some of our other articles about working with sample packs vs sampling records.
How To Make A Beat With Ableton Live
Making a basic beat in Ableton Live is something any and every music producer should know how to do, even if you don't consider yourself explicitly a "beat maker".
If you're trying to make your first beat, don't worry about making a masterpiece. Just make something and figure out where to improve the next one.
Many famous beat makers commit to making a certain number of beats every single day because simply doing it often gives you more opportunities to improve and discover your own artistic process.
But if you want the beginner's guide to beat making, you can break the process down to a few steps.
-
Picking a Tempo and Key
-
Choosing Drum Sounds
-
Sequencing the Beat
-
Adding Melodic Parts
-
Mixing
It is important to note that steps 2-4 don't need to be done in order!
Let's look a little more deeply at each part.
Choosing A Tempo and Key
This is easy. Usually the genre of music you work in will live in a particular tempo range. So, sometimes this part is decided for you.
The key is sometimes decided for you too. You can of course just pick a key you like to write in. Sometimes challenging yourself with an unfamiliar one can help you find new ideas.
And finally, if you like to work with samples of records or sample packs, sometimes the key is also decided for you.
For example, say you found a synth loop in C minor you really love in a synth sample pack. You like the vibe and you don't want to lose that feeling by re-pitching it. Just write the beat around the key of the sample!
Choosing Different Drum Sounds & Samples To Work With
Your drum sounds are sacred. The drums you choose to make beats with can more or less make or break your tracks.
This is the reason why so much so that a lot of music producers will re-use drum hits or drum loops they really love once they find some drum samples that align with their sound.
A common example of this is if you're trying to write in a genre like Drum and Bass or Lo Fi Hip Hop, an EDM sample pack isn't really going to be useful for you at all. You either need to find new samples or make them yourself.
Also, the drum samples you choose will become a big part of your sound as an artist over time. As much so as your choice of chords, the instruments you like, or your note choices in melodic parts.
So, it is worth spending some time experimenting inside Ableton Live and trying different sounds and creating various drum racks to use.
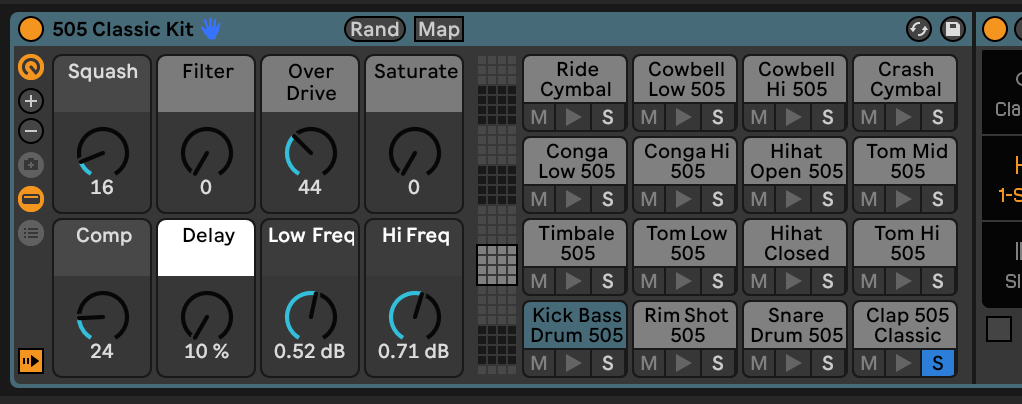
How To Make A Drum Kit In Ableton Live
We have entire articles on the art of creating great drum racks in Ableton Live. There are so many techniques and tricks to making them great to cover that we could easily write a whole book about this.
We highly recommend checking these articles out because it is such a huge topic and essential for any Ableton beat maker.
To make a basic Ableton drum rack, find 16 drum sounds that include at least a Kick, Snare, closed Hi Hat, and an Open Hi Hat.
You can also add melodic samples, other drums, percussion, even loops and synths. Drag each one of those on to the drum pads of a blank Drum Rack in Ableton.
Then, connect a MIDI controller or press the M keyboard shortcut to use your computer keyboard as a MIDI controller.
Now, you have a playable kit. It's not a super hard process. But if you check out our other articles you'll see that a drum rack can get much more complex than this.
You can work with up to 127 sounds on a single rack instead of 16 and do things like use techniques like Multi-Sampling to create a more realistic drum rack that feels and responds like an acoustic instrument.
Replace the Default Drum Samples With Your Own

Another technique for making a drum rack is to find an already built drum rack you like.
Then, add or replace some sounds with samples you've made yourself.
Or you can use sounds you downloaded and like. They can be free samples, an artist pack, or something from a sample pack company like us.
When To Use Drum Racks vs. Other Methods
There are definitely other methods to getting the drum sounds started. Some music producers prefer to begin with a drum loop from a record or sample pack.
They will edit it in the arrangement view rather than play the beat by hand or sequence it in Ableton Live via the piano roll which you access via the clip view.
Another method is to use the session view to automate the process of slicing the beat in Ableton Live and create variation.
We would use this method if you already have samples in mind with drum grooves you don't want to change too drastically.
Or if you're working in a genre where specific drum loops are part of the genre, like the Amen Break.
But whether you're super experienced or new at beat making, you should learn to sequence drums from one shot samples or chops. It's an essential skill for just about every music producer.
Start Making Beats With The Drum Rack
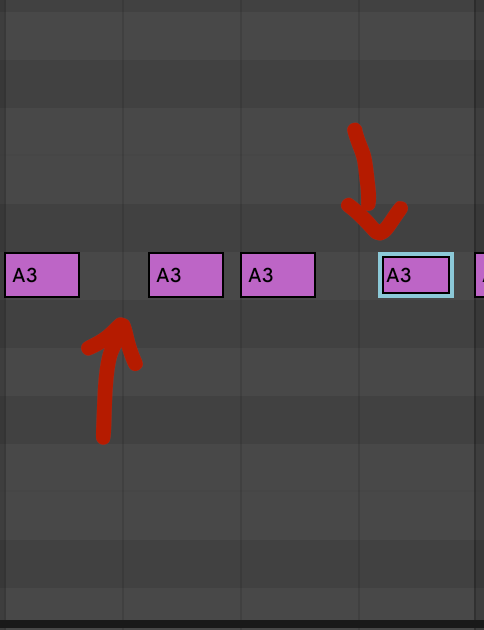
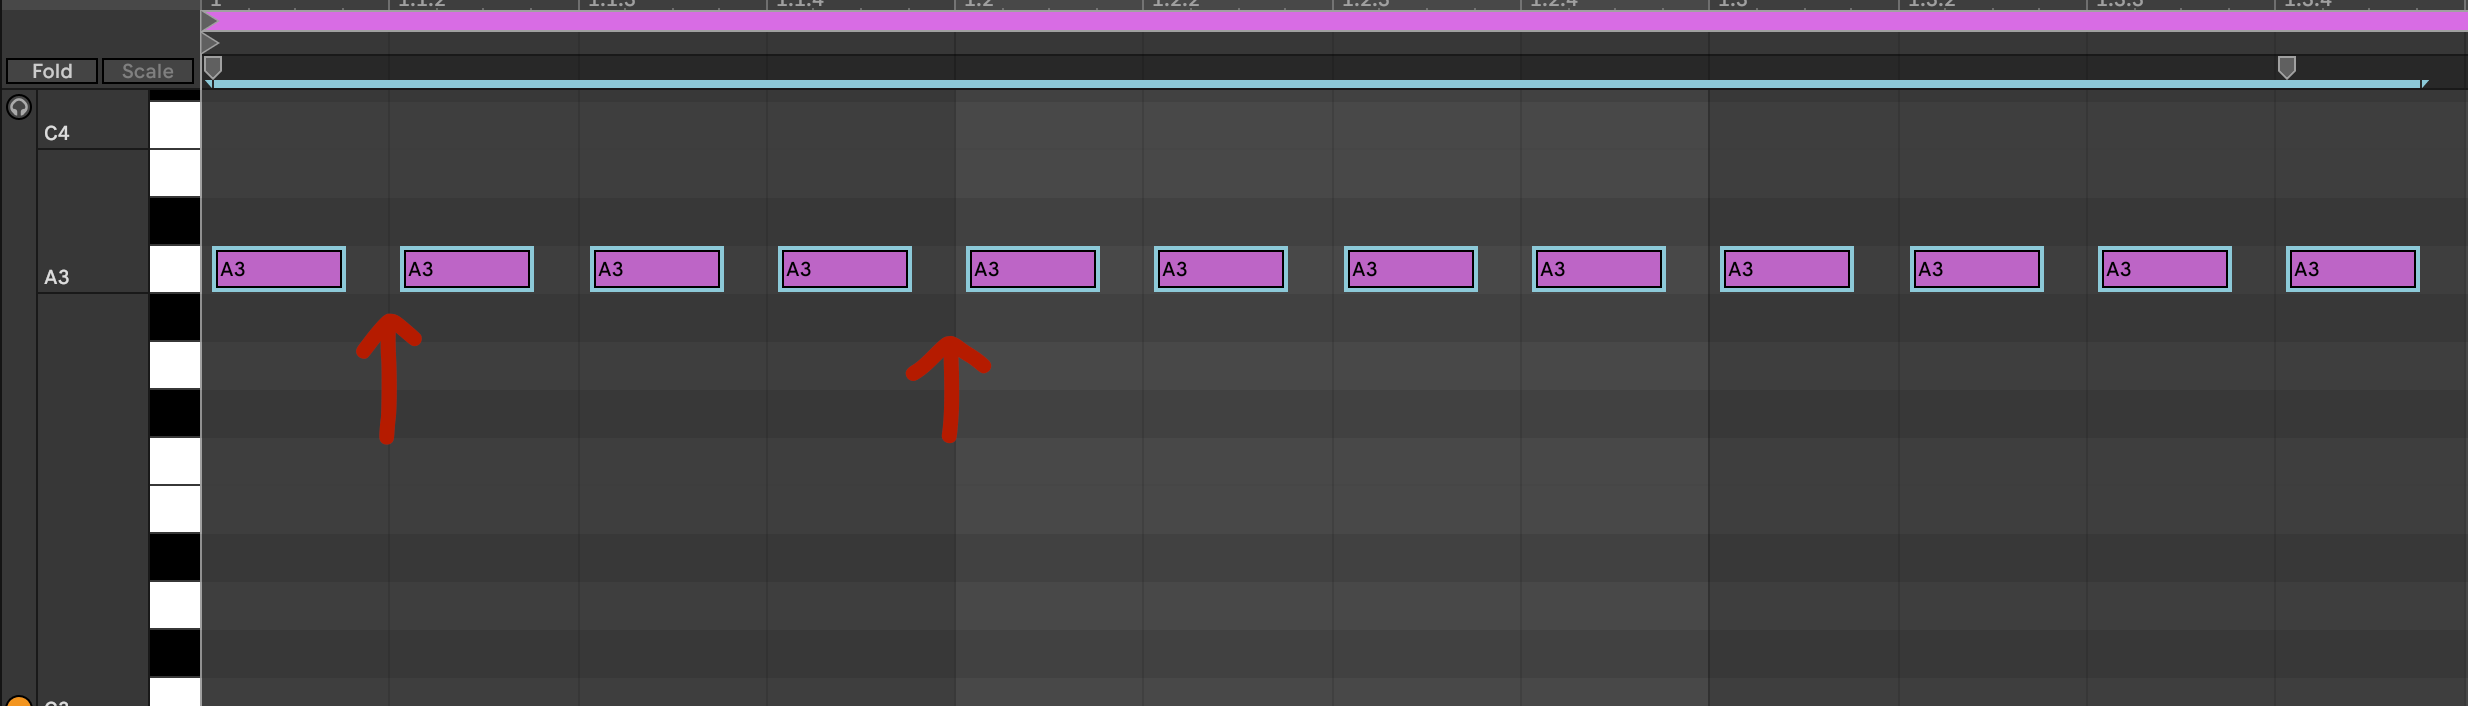
Now that you have some sounds you want to work with and have them loaded up, you need to either draw notes in the piano roll with the mouse or start playing in parts with your MIDI controller and recording the performance.
Playing in parts to a metronome takes some practice. If you're new to music production or music in general it might be easier to look up some drum patterns and program them in with the mouse.
We have an article about a classic hip hop track "Breathe and Stop" and the pattern behind it that would make a good place to start.
Sequencing The Beat & Writing Different Sections
Especially if you're drawing in MIDI notes with the mouse, don't be too hard on yourself if the beat doesn't groove right away.
Especially if this is your first beat. Ableton has a bunch of features to help you get it feeling good.
Create a Kick Drum and Snare Pattern

There's no rule that says you need to start with the kick and snare pattern, but if you're starting a beat from scratch, getting a basic kick and snare drum loop happening is a simple place to start.
There are only so many basic hip hop drum patterns so you don't have to over complicate it.
Then you can experiment with layering other parts over it.
If you're working with a sample like a drum break, this pattern might be already predetermined or mostly predetermined by the sample.
There are no real rules because this is an art!
But if you need some tips to get started with the basics, the beginner's guide is to keep snares on beats 2 and 4 of a 4/4 measure and the kick drum usually lands or anticipates beats 1 and 3.
If you really aren't sure what to do, you can also sync a few beats you like to Ableton's tempo. Then, just program kicks and snares where they hit in the beat. Next, mute the original and just listen to your kick and snare pattern to understand how that particular pattern works.
Also, this is a great exercise in warping and training your ear for what to listen for.
Add a Hi-Hat Pattern
Next, you should try adding your own hi hat pattern.
Some people like to just drop in a hi hat loop from a sample pack, but you should learn how to program these yourself.
You need to know how to customize there, then you can use the loop packs later for days when you're in a rush to get a track done.
The actual pattern and drum samples you use are going to vary depending on the genre.
For example, if you're making trap or EDM, those hi hats are usually a totally different sound and pattern than you would use for classic boom bap hip hop beats.
We find that a lot of the modern styles of hip hop and electronic music production tend to be more "on the grid".
Older styles less so, because that music was invented before most people were using DAW's or even computers. Lots of that music was made with hardware samplers.
How To Make Your Beat Groovier
Let's say have a good kick drum and snare pattern sequenced.
You copied a hi hat pattern that fits from a reference beat.
But you have a problem. Everything still feels too straight and stiff.
There's no swing or groove to anything.
-
Add Swing By Hand
You can literally just start to swing certain parts more. If you had a straight 1/8th note hi hat pattern, you'd just move the upbeat notes closer to being triplet based, instead of duple based.
-
Apply Swing From Live's Groove Library
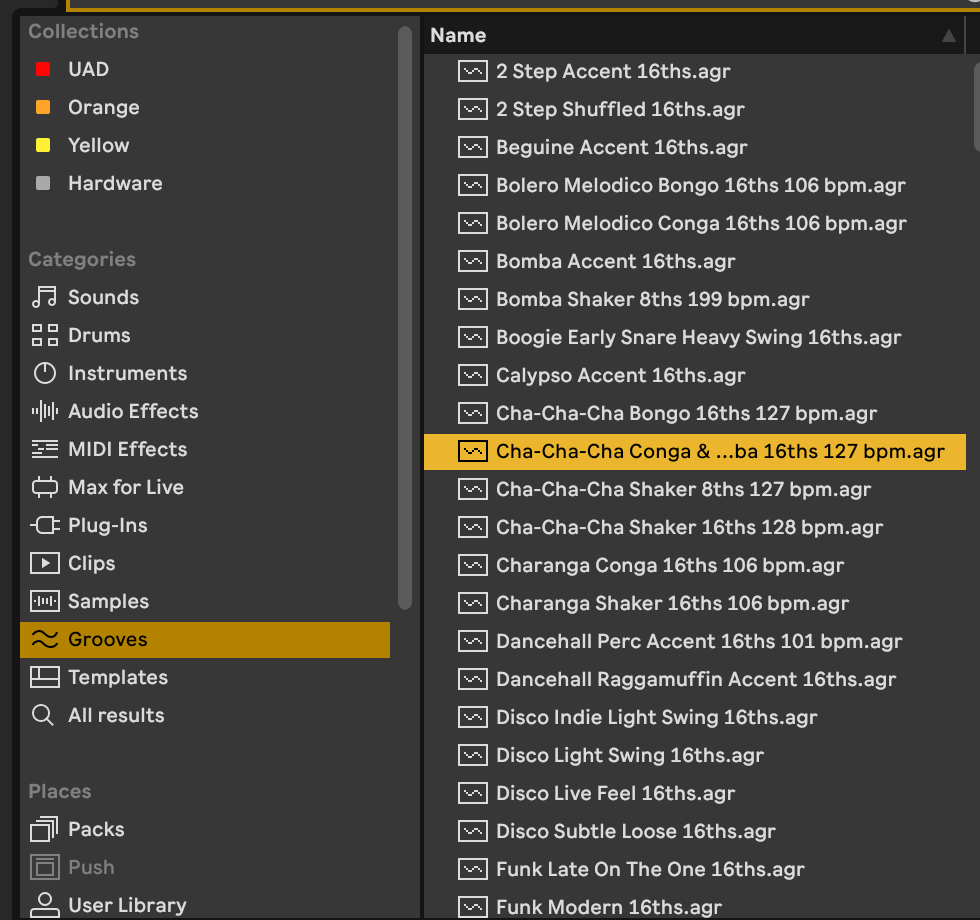
Ableton has a feature called Groove Pool that has pre-loaded swing patterns, including patterns from Logic and the MPC.
Additionally, you can analyze the swing of any audio clip to create your own groove files.
Then, you apply that groove file to your programmed MIDI clip. Adjust how strongly you want it to influence your pattern.
-
Add Percussion to Make the Beat More Interesting
Another method is instead of using the built in features of Ableton Live to create swing and groove from samples on the piano roll or playing your parts in is to use some loops.
You can program in the basic kick and snare patterns yourself, then add shakers, extra hi hats, or hand percussion loops that naturally have a swing to them.
-
Nudge
In addition to using techniques like applying Grooves, you may want to experiment with nudging certain drum hits slightly off the grid.
-
This is closer to how real drummers play. For example, you can take your hi hat part and move the MIDI notes to be slightly after the beat. It won't feel like the hi hat notes are late. Instead they will feel like they're laying back a bit. You can try this with all the different parts in your beats, even kicks and snares
Change the Sample Length on Longer Sounds
Another technique beat makers use is to alter the sample playback length for longer sounds.
On short sounds it doesn't make a huge difference.
On longer sounds it allows you to create variation by programming or playing different notes of different lengths
There are a lot of ways to do this.
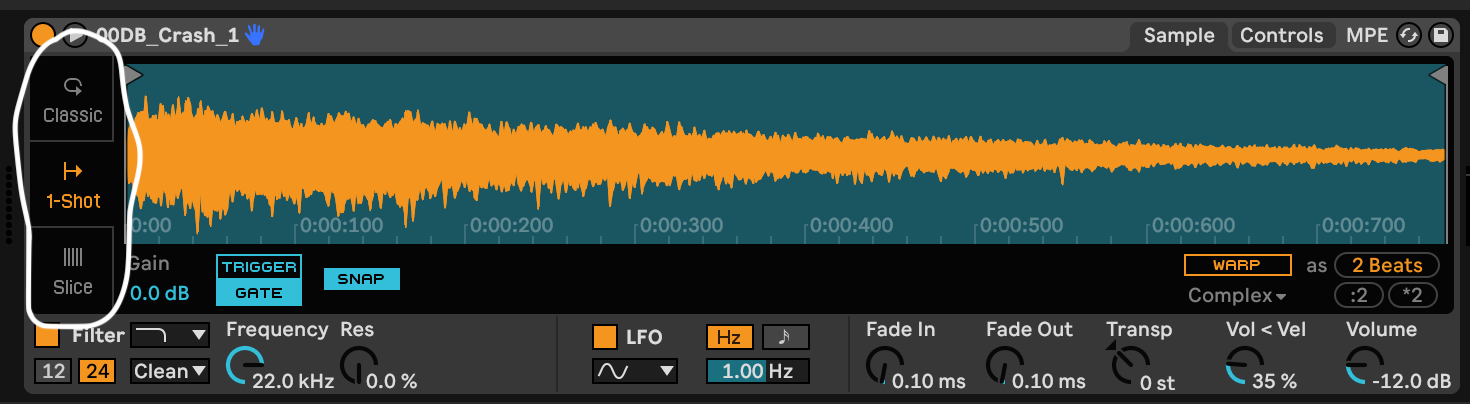
In Ableton Live one of the easiest ways to change this is to change the play back mode inside of the Simpler device.
(when you drop a Sample onto an empty drum rack pad, by default it is inside an instance of Simpler)
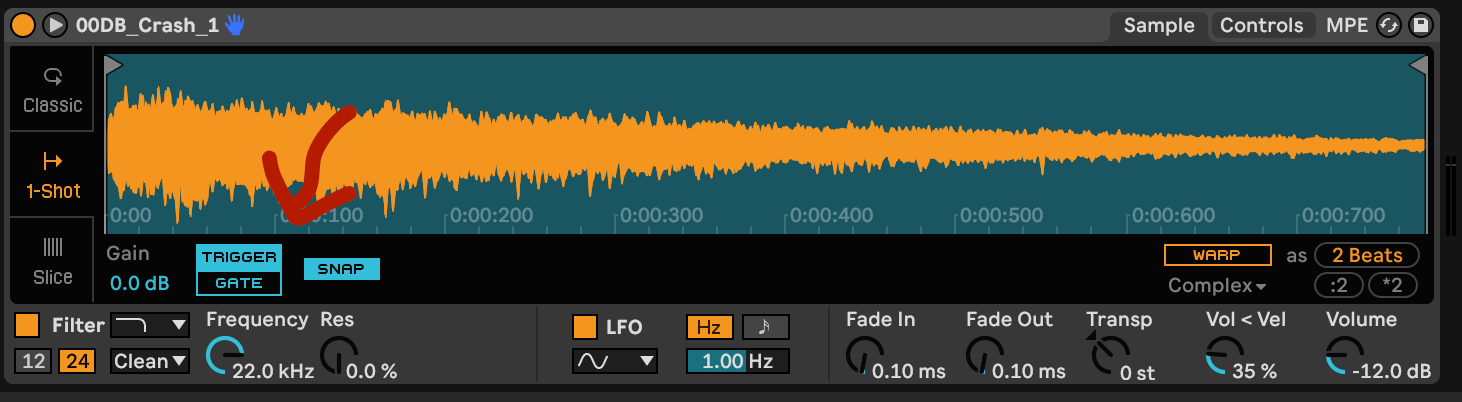
By default, this is set to Trigger which will play back the entire sample every time it is triggered. It doesn't matter how long the MIDI note you program or play is. You might not want to do this for something like an open hi hat sound or a sample of keyboard chords.
Instead, you can set this to Gate.
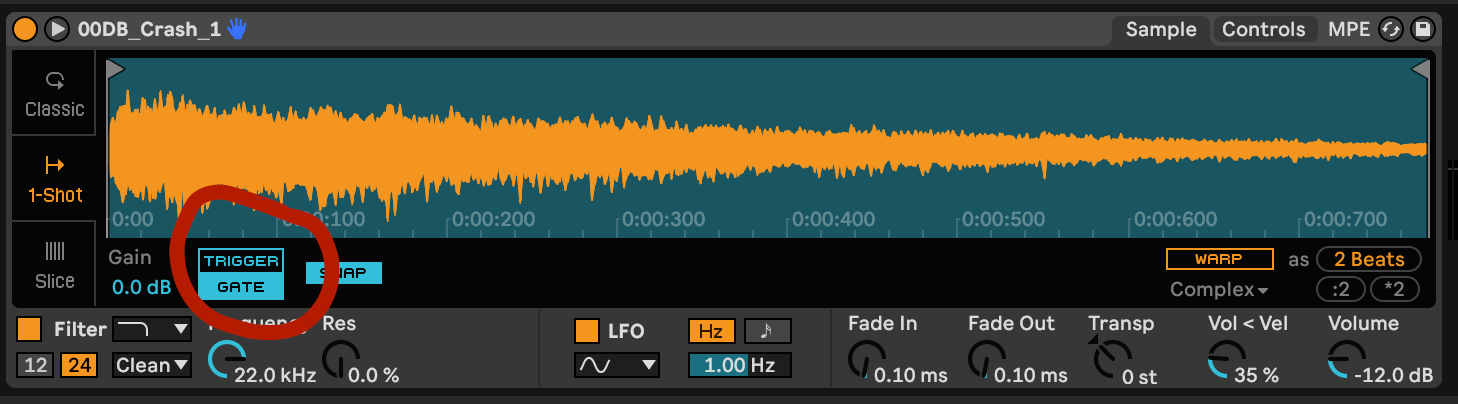
If you don't see these options, make sure that the Simpler device is set to One-Shot mode, not Classic or Slice. Those can also be useful for manipulating drum sounds in your music production, but in different ways.
Adding Melodic Parts

Complete Your Beat With a Bass line and Melody
You might decide to leave out a proper melody from a beat to leave room for a top line vocal part. This is perfectly reasonable, but you probably shouldn't skip adding a bass line.
Bass lines add a the funk and groove to a beat that makes you want to move, as we as provide a counter melody for the top line that will eventually be there.
At this point you can open up a new MIDI track and start playing or programming a bass line with your favorite synth bass plugin. You pretty much can't go wrong with MiniMoog emulation, but there are million others that work well.

If you struggle to write good bass lines and melodies, we have two suggestions:
-
Learn how a musical scale works
-
Transcribe good basslines from other beats
The second suggestion is time consuming and well worth the effort.

Just get a recording of one of your favorite beats, line up the project BPM to the beat, and rewind it as many times as you need to pick out the notes of the bass line. You can even slow down the audio if you need.
Program the notes in a bass synth in another track. Not only is this a fantastic exercise for your ear, this will help build your melodic vocabulary.
After you've done this with dozens of bass lines, you will understand what makes a great bass line great.
Yes, it's a lot of work, but it's worth it because the knowledge will be with you for life.
Mix The Beat in Ableton Live

You'll probably mix your entire production very carefully when it's time to release it. But even in the early stages, you should stick have a solid rough mix to work from.
This might include applying some EQ and basic filters to your drums sounds to clean up any obvious problems.
For example, you don't want levels to be so hot that you're clipping the output of your audio interface or hearing low end rumble in hi sounds like cymbals, bells, and hi hats.
Apply Effects to Polish Your Beat
Some effects you might want to add to polish your sounds might include saturation or even clipping on sounds you want to be more "forward" in the mix like snares. This is especially important in genres like hip hop and more aggressive types of electronic music.
You also can apply reverbs to make certain elements feel further back in the mix, as well as add delays of varying lengths to add movement.
Luckily in Ableton Live, if you use any of the stock time effects like the delays or Echo plugin, you can set this up to be perfectly in time with everything else in your project.
At this stage you should have a beat.
Now try to work for a batch of 10-20 beats and see if you can find ways to improve your workflow as you write more.


